Common Kitchen Tile Flooring Installation Mistakes to Avoid
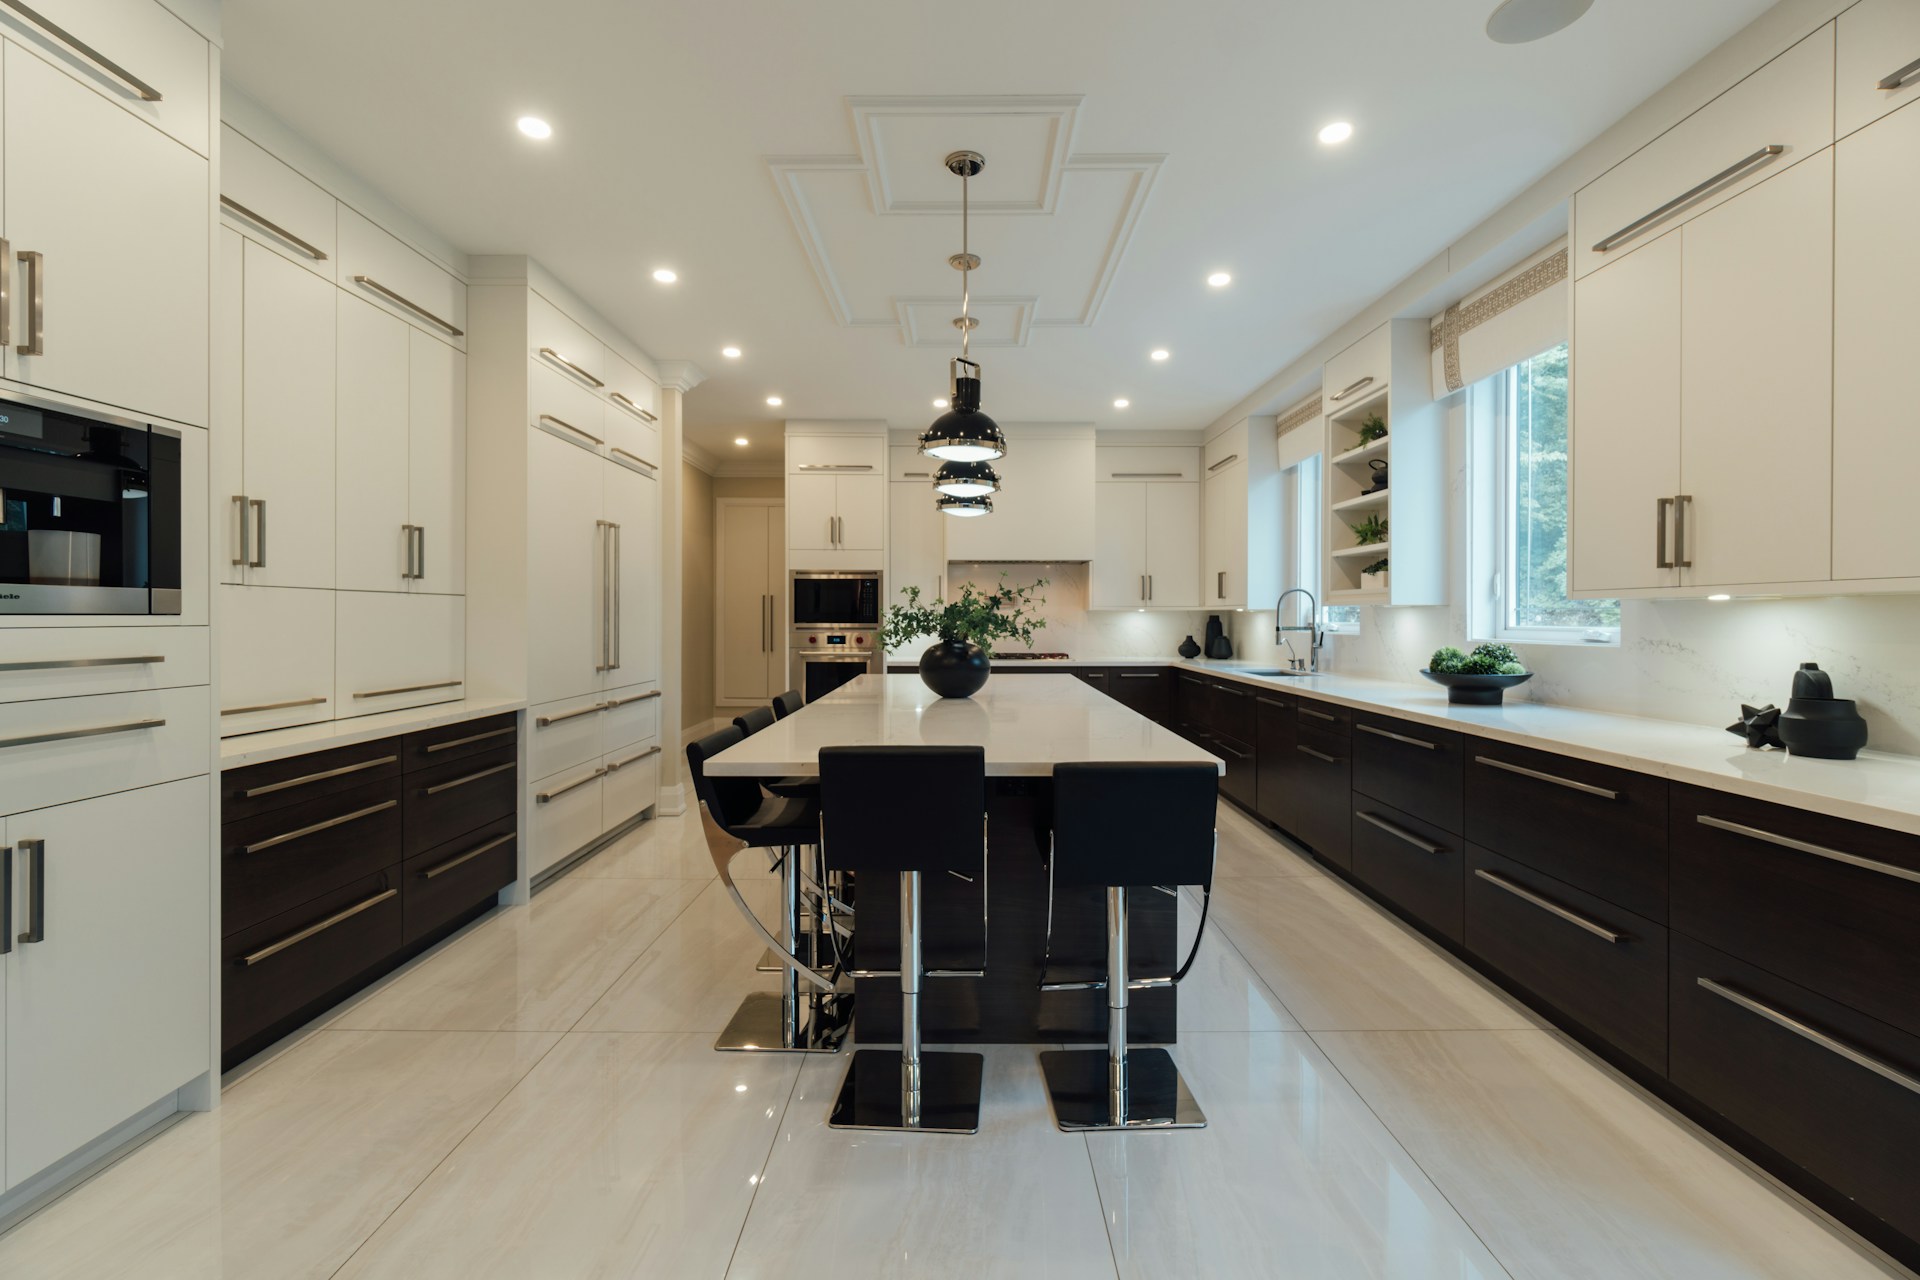
Kitchen tile flooring installation can completely change how your home feels and functions. A good tile floor stands up to busy mornings, late-night snacks, and all the cooking in between.
Avoid Costly Kitchen Tile Flooring Regrets
Kitchen tile flooring installation can completely change how your home feels and functions. A good tile floor stands up to busy mornings, late-night snacks, and all the cooking in between. A bad one? That can mean cracks, stains, and loose tiles right when you need your kitchen the most.
Summer is a big time for remodels in Sugar Land. Families try to squeeze in projects before school, sports, and holiday hosting kick in. If the tile is installed the wrong way, small mistakes now can turn into big problems later. We want to help you avoid that. In this article, we will walk through the most common kitchen tile flooring installation mistakes and what should be done instead, so your floor looks great and lasts.
Planning Mistakes That Ruin Your New Tile Floor
The biggest problems often start before a single tile is set. Planning is where many kitchen tile flooring installation projects go off track.
One major mistake is skipping a professional evaluation of the kitchen. Floors in our area often sit on slab foundations, and some homes are older or have had past water issues. Before any tile goes down, the space needs:
- A moisture check in the subfloor
- A look at any cracks in the concrete
- An inspection of old flooring or adhesive
- A check for soft or damaged areas under existing tile or vinyl
Another common issue is choosing the wrong tile for your lifestyle. Not every tile is right for a busy kitchen. Here are some key points:
- Porcelain is usually denser and more durable, good for heavy traffic
- Ceramic can work well, but some types chip or scratch more easily than porcelain
- Natural stone looks beautiful, but many types need extra sealing and care
- Slip resistance matters if you cook a lot, spill often, or have kids and pets
It helps to think about how you really live. Do you cook daily? Do you have pets racing through the kitchen? Do kids drop cups and snack bowls on the floor? The right tile and surface finish can make a big difference in safety and daily cleanup.
Time and budget planning can also cause trouble. Many DIY projects underestimate:
- How long demolition actually takes
- How much dust and mess old flooring creates
- The time needed for subfloor repairs and prep
- The cure time before you can walk, clean, or move appliances back
When this part is rushed, tiles may not bond correctly, grout can crack, and the floor can shift just when holiday visitors start showing up.
Subfloor and Layout Errors That Cause Cracks
Even the nicest tile will fail on a weak or uneven base. Subfloor and layout mistakes are a big reason kitchen tile floors crack or feel uneven underfoot.
Ignoring subfloor leveling and repairs is a top problem. Issues that often get skipped include:
- Uneven concrete slabs that cause “lippage,” where one tile edge sits higher
- Old vinyl or glue left on the floor that stops mortar from bonding
- Damaged or flexing backer board under the tile
- Hollow spots under tiles that make a clicking sound when you walk
These might not stand out on day one, but as you roll in a fridge or stand for hours cooking, the stress shows up as broken tiles or grout lines that pop.
Another mistake is skipping the right underlayment and movement joints. A proper kitchen tile flooring installation often needs:
- Cement backer board or other approved underlayment where needed
- Crack isolation or uncoupling membranes on problem slabs
- Expansion joints in larger areas so the tile can move a little with temperature and humidity changes
Without these, the tile has no way to relieve stress, which can lead to “tenting,” where tiles lift up and separate from the floor.
Poor layout and tile placement can also ruin the finished look. Common layout issues include:
- Not centering the pattern in the room or main walkway
- Ending up with tiny sliver cuts along walls or cabinet bases
- Not planning around islands, peninsulas, or open floor transitions
- Skipping a dry layout to check how the tile will look before setting it
A smart layout makes the whole kitchen feel balanced and calm, while a rushed layout is hard to “unsee” every time you walk in.
Installation Shortcuts That Shorten Floor Life
Even with good planning and layout, shortcuts during installation can cut the life of the floor short.
Using the wrong mortar or grout is one of those shortcuts. Different tiles need different products. For example:
- Large-format tiles often need specific thinset to support their size
- Some tiles work best with a polymer-modified mortar for stronger bonding
- The wrong grout type in high-traffic areas can crack or stain easier
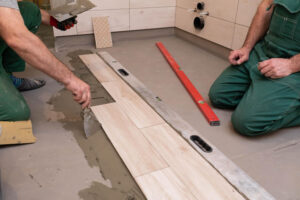
Another big issue is incorrect trowel technique and poor coverage. In a kitchen with heavy appliances and lots of foot traffic, tiles need full support under them. Problems that show up later include:
- “Spot bonding,” where only a few blobs of mortar are used on each tile
- Using a trowel that is too small for the tile size
- Not back buttering large or uneven tiles when needed
These habits create empty pockets under the tile, which often turn into cracks when someone drops a pan or moves an appliance.
Then there is the urge to rush spacing, leveling, and curing. Common mistakes are:
- Uneven grout joints that make lines look crooked and messy
- Skipping leveling systems with big tiles, which can leave edges sticking up
- Walking on the tile too soon or sliding the fridge back before the mortar has cured
All of these can weaken the bond and cause tiles to shift or grout to crumble over time.
Grout, Sealing, and Cleanup Mistakes You Will Regret
Many kitchen tile flooring installation projects look fine at first, then start to disappoint after a few months of real life. Grout, sealing, and cleaning choices have a lot to do with that.
Choosing the wrong grout color or type is a common regret. A floor that looks great in the showroom can feel different under everyday lighting and dirt. Things to think about:
- Very light grout can make every spill and scuff stand out
- Very dark grout can show dust and highlight any crooked lines
- Sanded grout is usually used for wider joints, unsanded for narrow ones
- Epoxy grout can resist stains well, but it must be handled correctly during installation
Forgetting to seal tile and grout is another mistake, especially with natural stone or certain grouts. When the right surfaces are not sealed:
- Sauces, oils, and barbecue drips can leave permanent marks
- Everyday spills soak in instead of wiping away
- The floor starts to look tired much sooner
How often sealing is needed depends on the specific tile and grout, how often you cook, and how the floor is cleaned.
Using harsh cleaners too soon can also cause harm. Acid-based or abrasive products can damage or dull grout and tile, especially when they are still curing. A better approach is simple, steady care:
- Gentle, pH-neutral cleaners recommended for tile
- Soft mops or cloths instead of rough pads
- Wiping spills quickly so they do not sit and stain
With the right products and habits, a new kitchen tile floor can stay fresh and “showroom ready” far longer, even during busy seasons of cooking and hosting.
Get a Flawless Kitchen Tile Floor the First Time
Kitchen tile flooring installation does not have to be stressful or full of surprises. When you avoid these common planning, subfloor, layout, installation, and cleanup mistakes, you give your floor the best chance to stay strong, safe, and beautiful. A well-done tile floor can handle school mornings, weekend gatherings, and holiday meals without complaining.
At Sam’s Flooring Gallery, we work every day with homeowners in the Sugar Land area to help them choose the right tile, prepare their spaces the right way, and get professional installation that stands up to busy family life. With careful planning and the right team, your kitchen tile floor can look great the first time and keep performing season after season.
Get Started With Your Project Today
Transform your kitchen with expert care and attention to detail from Sam’s Flooring Gallery. Explore our kitchen tile flooring installation services to find the right solution for your home and lifestyle. We will guide you through material choices, design options, and scheduling so your project moves forward smoothly. If you are ready to talk through your ideas or request an estimate, contact us today.